
Sunday, May 25, 2014
Mother's Day Box Cards
I'm just now getting around to posting these adorable boxes I made for Mother's Day using SVGCUTS.com files. I love how they turned out. I used Secret Garden paper from Graphic 45 . I love this paper, it has so many pretty colors!

Saturday, September 28, 2013


I made the banner using Scraptastical Creations svg file.

I made the DR. bags using SVGCUTS.com files.

Ally was a very happy little girl! The Doc McStuffins clinic is her favorite present!
If you have any questions on where I got the stuff online just leave a comment and I will try and find it for ya! :)
Sunday, May 5, 2013
Chicken crazy
Well girls I have finally lost my mind....lol I have decided to raise chickens. Ten of them. So far it has been a very fun learning experience. The chicks are about 7 weeks old now and are in the coop we just finished building.( Pictures to follow)
A few things I have learned: 1. Never I mean NEVER have your chicks in the house, we had them in the basement and they are SO VERY dusty. It will take me a week to get the dusting done down there, and they stink! lol I enjoyed watching them grow and change and fight over a treat! :) 2. I learned they are messy eaters and they love to knock over their feeders a lot. 3. They scratch the pine shavings into their water so I bought poultry nipples and made them the kind that hang,( much better) 4.I learned you can kind of train a chicken by feeding them out of your hand and talking to them......It was so sweet the first time I took them outside they stuck to me like glue they sat in my lap or on my shoe and didn't get to far away from me. Now they love it outside and don't need momma to sit on...lol. 5. They are kind of like your kids you hate for them to leave the nest but you know they have to, so we put them in their new home (inside the coop as soon as it was finished). I think they are doing really well. 6. Our dog Samson doesn't like them,,,,yet... I am hoping he will adjust soon. We had to put up a secondary fence to keep him from charging the fence. 7. I learned that Pintrest is a treasure trove of information on raising chickens. LOVE IT.

 This is the girls trying to decide if they want to come out or not, it was a little chilly outside. I need to build them a better ramp. Yes I am handy with the power tools. While my husband was at work, I worked on the coop by myself. I built the nesting boxes, the roost, the chicken door, the windows and the vents. We did the rest of it together. I still need to paint it! :)
 My Granddaughter Rachel loves the chickens and they love her too!

 The nesting boxes, there are 5 of them, just couldn't get them all in the pic.
 The roosting poles(they are 2x4s).
 The water bottles I made with the poultry nipples, they work great! I need to get a bigger feeder too!


A few things I have learned: 1. Never I mean NEVER have your chicks in the house, we had them in the basement and they are SO VERY dusty. It will take me a week to get the dusting done down there, and they stink! lol I enjoyed watching them grow and change and fight over a treat! :) 2. I learned they are messy eaters and they love to knock over their feeders a lot. 3. They scratch the pine shavings into their water so I bought poultry nipples and made them the kind that hang,( much better) 4.I learned you can kind of train a chicken by feeding them out of your hand and talking to them......It was so sweet the first time I took them outside they stuck to me like glue they sat in my lap or on my shoe and didn't get to far away from me. Now they love it outside and don't need momma to sit on...lol. 5. They are kind of like your kids you hate for them to leave the nest but you know they have to, so we put them in their new home (inside the coop as soon as it was finished). I think they are doing really well. 6. Our dog Samson doesn't like them,,,,yet... I am hoping he will adjust soon. We had to put up a secondary fence to keep him from charging the fence. 7. I learned that Pintrest is a treasure trove of information on raising chickens. LOVE IT.

May 3rd 2013, it snowed all day, but the chicks were nice and warm with the heat lamp inside the coop.


Thanks for stopping by and checking out my chicken adventures... More to come so stay tuned! :)
Thursday, February 28, 2013

Wednesday, February 20, 2013
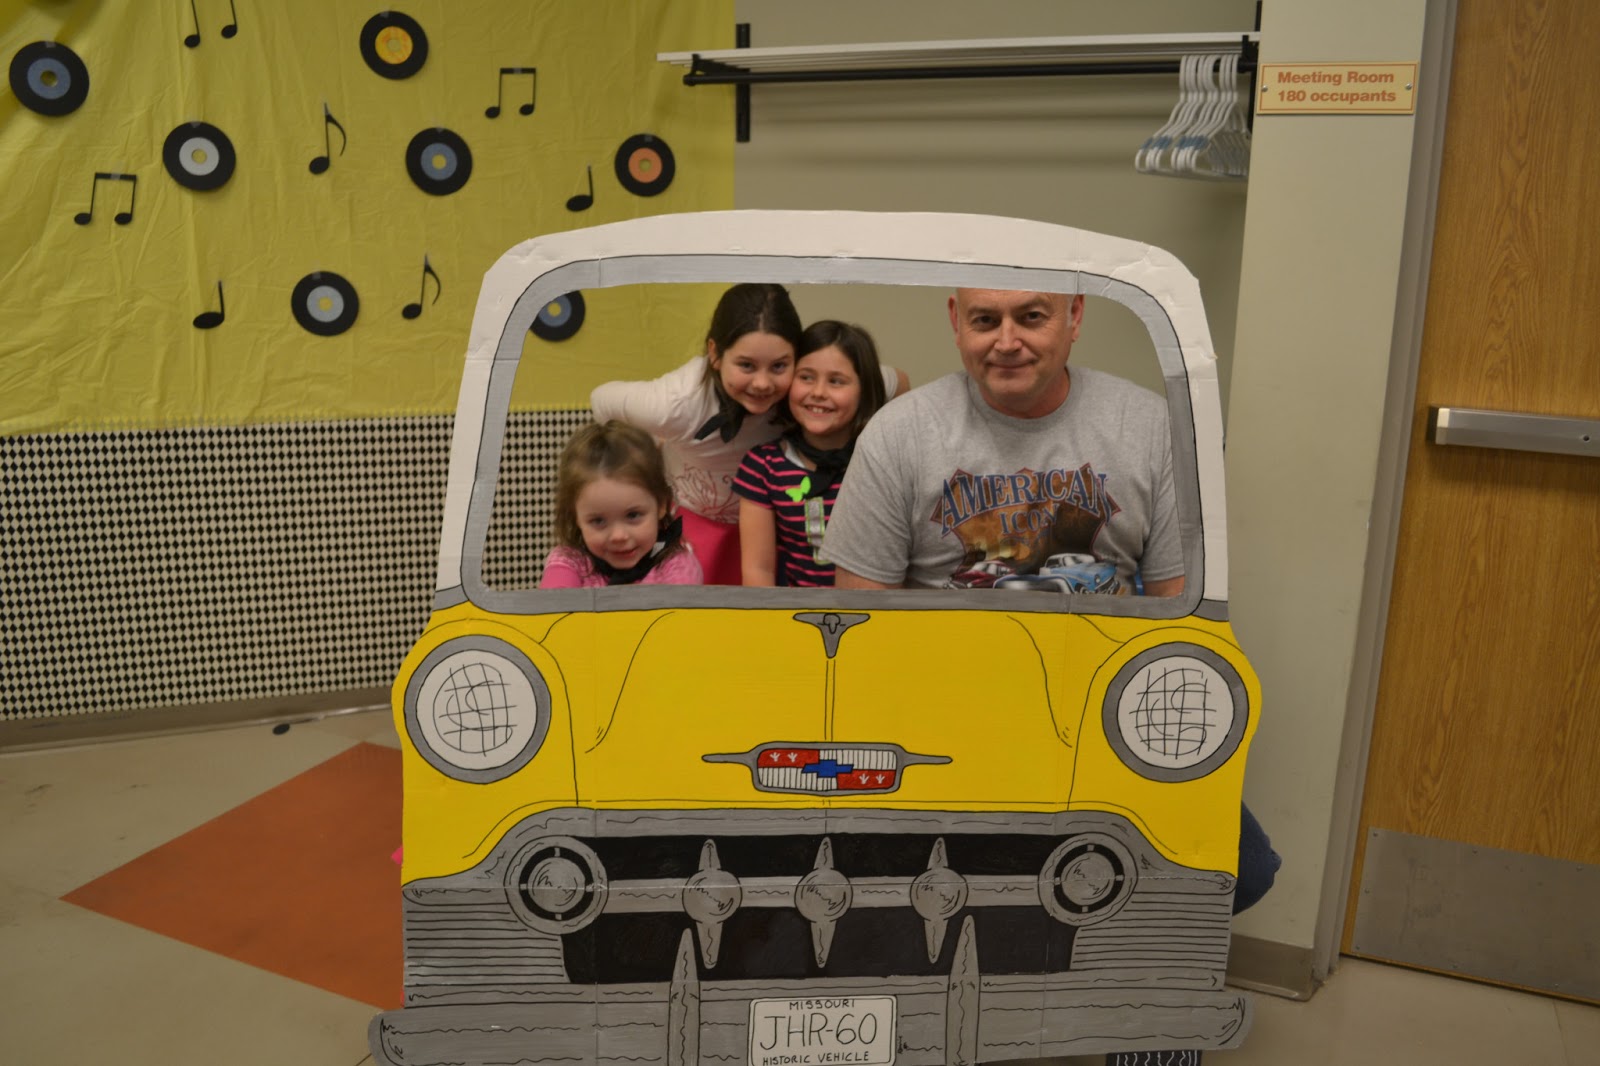
Jimmy's 60th Surprise Birthday Party




Wednesday, November 14, 2012
Ribbon Storage
Ok, I have been frustrated with my ribbon storage for awhile now. So I started looking around the internet for solutions to my problem. I have no wall space and no table space but I did have a couple of drawers that I could rearrange to accommodate my ribbon, but the ribbon was too tall so I had to make a wedge so they could lay down a little.
 Needles to say that wasn't really working because they would still get stuck when I pulled out the drawer. So I did some more searching on the internet and found this cool blog http://www.amazingpapergrace.com/amazing-ribbon-storage/ I love this idea, but just one problem, it was late and I didn't have any mat board to use or any hairbands. So being the frugal crafter (or you could say cheap...lol) that I am, I improvised.....I have been saving toilet paper rolls for crafts to do with my granddaughters, so I had a bunch of them.They were perfect for this project. I only had to do a few minor adjustments and viola it works.
I smashed them and used a bone folder to get a good flat piece.

 Then I measured 2 inch on center and cut them with a craft knife.

 Then I took tape and put it on the edge and wrapped it, to close off the ends and make it flat.
 This is my granddaughters favorite part, she likes to let the ribbon out on the floor.
 Then you just start wrapping them. I used tape to hold them in place.
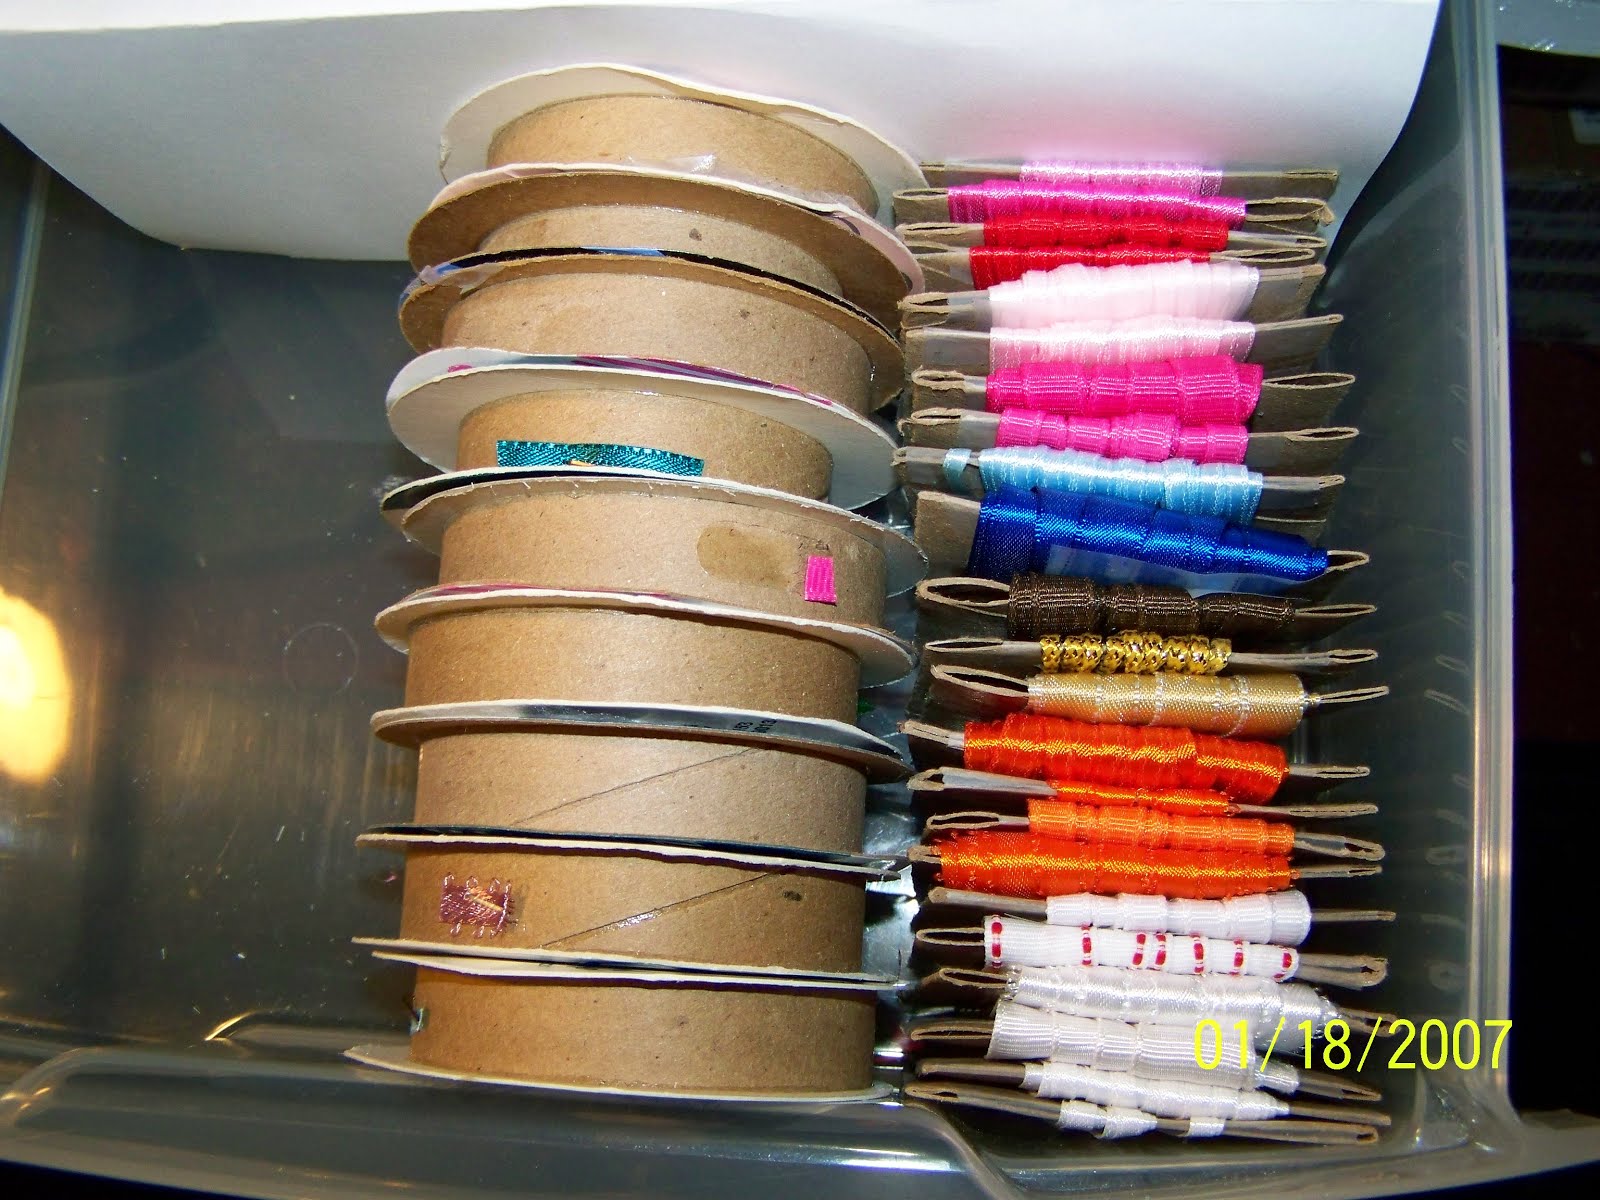
 Now they fit perfectly in my drawer with a ton more room!
That is 9 spools to 23 cards of ribbon and plenty of room for more......yay! It may not be as pretty as hers, but hey its free.... :)
Update: I still have about a dozen left to do and still have enough room! :)


That is 9 spools to 23 cards of ribbon and plenty of room for more......yay! It may not be as pretty as hers, but hey its free.... :)
Update: I still have about a dozen left to do and still have enough room! :)

%3Athescrapinator.blogspot.com&media=http)%3A%3Cdiv%20class%3D%22separator%22%20style%3D%22clear%3A%20both%3B%20text-align%3A%20center%3B%22%3E%20%3Ca%20href%3D%22http%3A%2F%2F2.bp.blogspot.com%2F-Sw-Q0Dyb0_U%2FUKhQkzrEq_I%2FAAAAAAAAAcI%2F7zIbx7W__B4%2Fs1600%2F100_5063.JPG%22%20imageanchor%3D%221%22%20style%3D%22margin-left%3A1em%3B%20margin-right%3A1em%22%3E%3Cimg%20border%3D%220%22%20height%3D%22240%22%20width%3D%22320%22%20src%3D%22http%3A%2F%2F2.bp.blogspot.com%2F-Sw-Q0Dyb0_U%2FUKhQkzrEq_I%2FAAAAAAAAAcI%2F7zIbx7W__B4%2Fs320%2F100_5063.JPG%22%20%2F%3E%3C%2Fa%3E%3C%2Fdiv%3E&description=Ribbon%20Storage%20Idea)
%3Athescrapinator.blogspot.com&media=http)%3A%3Cdiv%20class%3D%22separator%22%20style%3D%22clear%3A%20both%3B%20text-align%3A%20center%3B%22%3E%20%3Ca%20href%3D%22http%3A%2F%2F2.bp.blogspot.com%2F-Sw-Q0Dyb0_U%2FUKhQkzrEq_I%2FAAAAAAAAAcI%2F7zIbx7W__B4%2Fs1600%2F100_5063.JPG%22%20imageanchor%3D%221%22%20style%3D%22margin-left%3A1em%3B%20margin-right%3A1em%22%3E%3Cimg%20border%3D%220%22%20height%3D%22240%22%20width%3D%22320%22%20src%3D%22http%3A%2F%2F2.bp.blogspot.com%2F-Sw-Q0Dyb0_U%2FUKhQkzrEq_I%2FAAAAAAAAAcI%2F7zIbx7W__B4%2Fs320%2F100_5063.JPG%22%20%2F%3Cdiv%20class=)


Subscribe to:
Posts (Atom)